Adaptive Activewear Design: When Accessibility Requirements Change the Garment Architecture
- Share
- publisher
- HUCAI Sportswear
- Issue Time
- Oct 22,2026
Summary
How accessibility requirements change closures, opening position and block ease in women's activewear, with validation steps for sampling and bulk.
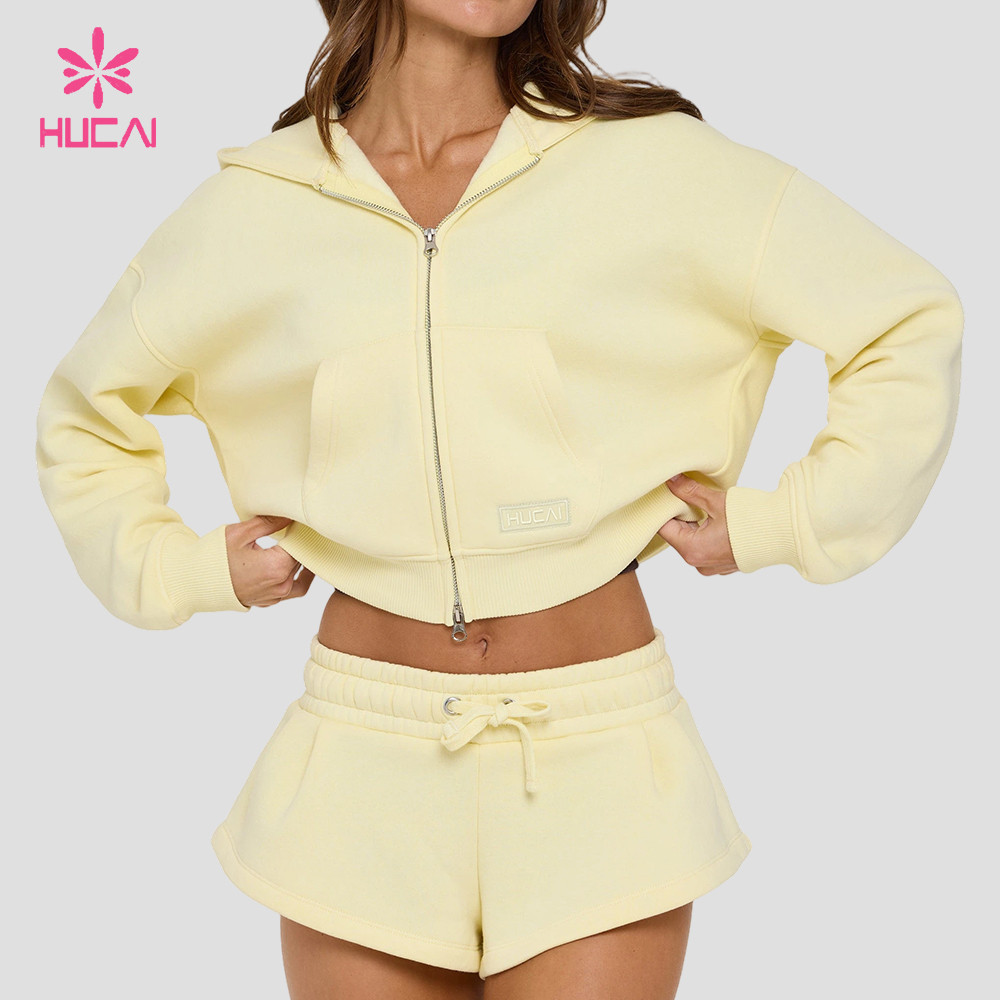
A brand decides to add pieces that are easier to put on. The first sample brief usually looks like an existing style with a longer zipper pull and a wider neckline. The sample comes back looking almost right, and the wearer still cannot close it while seated. The reason is architectural rather than cosmetic: where the garment opens, how much force the closure needs, how much ease the block carries, and which trims press against skin all have to be decided together. Change one and the other three move. This guide is written for product developers and sourcing teams who need to turn an accessibility requirement into a workable specification, following the order HUCAI Sportswear uses in development review: dressing sequence, closure, opening, block, then validation.
Quick Answer
Accessibility requirements change four parts of a garment at once: where it opens, how it closes, how much ease the block carries, and which trims sit against the skin. Start from the dressing sequence instead of the sketch, choose the closure before the pattern, and validate with dressing trials and closure cycle testing before bulk. A longer zipper pull added to an unchanged block rarely resolves the problem.
Table of Contents
- Who This Article Is For
- Adaptive Does Not Mean a Separate Aesthetic
- Closure Substitution: Zipper, Magnetic or Hook-and-Loop
- Opening Position: Why Center Front Is Often the Wrong Starting Point
- Ease, Block and Panel Changes That Follow the New Opening
- Fabric, Trim and Seam Decisions That Decide Whether It Feels Easy
- Validation Before Bulk: Dressing Trials and Cycle Testing
- Decision Check
- Founder's Technical Insight (Jean Yuan)
- FAQ
- Final Takeaway
Who This Article Is For
- Primary reader: product developers at growing women's activewear brands adding an easy-dressing or adaptive capsule of three to eight styles.
- Secondary reader: established brands and private label buyers adapting one existing style for a retailer, studio chain or institutional request.
- Product stage: the direction is agreed, the specification is not. The brief says "easier to put on" but does not yet say where or how.
- Problem being solved: the sample looks correct on a hanger and still fails the wearer during dressing.
- Who may not need this article: teams that already hold a confirmed closure specification and measured ease allowances, and readers looking for medical or rehabilitation guidance, which sits outside a manufacturer's scope.
What you gain from this article: a decision path for opening position, closure type, ease allowance and validation method, plus a clear view of which changes can be adapted from an existing block and which require a new pattern.
Adaptive Does Not Mean a Separate Aesthetic
Publicly released adaptive and easy-dressing lines from several large activewear and lifestyle brands keep the same visual language as the main collection: the same color stories, the same cropped lengths, the same logo placement. The difference sits inside the garment. Openings move, closures change, and the block carries different ease. The collection still reads as one brand on the shelf, which is the commercial point of the exercise.
In community forums where people with limited hand strength, arthritis, reduced shoulder range or wheelchair use discuss clothing, the same three complaints appear: closures too small to grip, neck openings too narrow to pass over the head, and trims or labels that press against skin or a chair back. None of those complaints is about styling. All three are specification problems that can be measured and corrected.
For a brand, that translates into four decisions that must be taken in order. The table below is the working sequence used in development review, because each row constrains the next one.
| Requirement signal | What it changes | First decision |
|---|---|---|
| Cannot grip a small slider | Closure type and pull size | Closure before pattern |
| Dresses while seated | Opening position and length | Dressing sequence first |
| Reduced shoulder range | Neckline, armhole and ease | Block adjustment |
| Pressure sensitivity | Seam type, trims, labels | Construction and trim stack |
The trap is treating the request as a trim upgrade. Adding a pull tab to a center-front zipper looks like a five-minute change and becomes a three-round revision, because the opening behind that zipper was never sized for a seated wearer.
When the base style is a bra or a fitted top, the closure question overlaps directly with sports bra construction and closure development, since band entry, back closure and strap adjustment all affect how the garment is put on.
Closure Substitution: Zipper, Magnetic or Hook-and-Loop
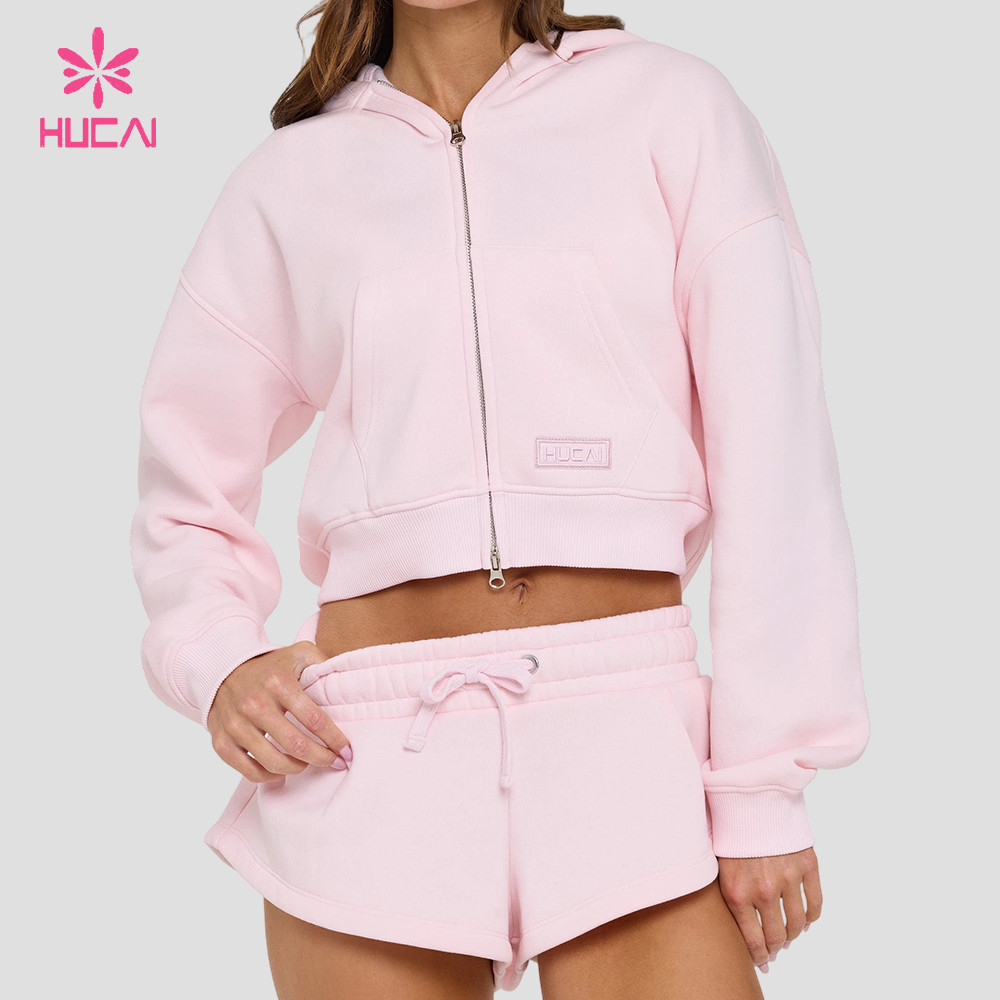
Closure choice should follow the grip and the dressing position, not the hardware already in the sample room. A zipper assumes a pinch grip and a steady pull. A magnet assumes a push rather than a grip. Hook-and-loop assumes a press and a peel. Each one fails differently, and each one has a different validation method.
| Closure | Where it works | What to validate |
|---|---|---|
| Zipper with enlarged pull | Front or side opening, standing dressing | Pull grip, slider travel, tape shrinkage |
| Magnetic placket | Front or shoulder opening, low grip strength | Holding force, magnet retention after washing |
| Hook-and-loop | Adjustable panels, fit tolerance | Peel strength, cycle life, fabric abrasion |
| Combination | Long openings on heavier styles | Sequence of operation, layered bulk |
A zipper is the most familiar option and the most sensitive to detail. The pull has to be large enough to hook a finger, and the slider has to travel without a sideways pull. On stretch knits, the zipper tape and the shell behave differently in washing, and the seam line develops a wave that no pressing removes. A two-way zipper helps on longer styles because the wearer can open from the lower end while seated, but it adds a second slider to specify and inspect.
Magnets remove the grip requirement entirely, which is why they appear in so many easy-dressing fronts. The work sits behind the fabric: the magnet needs a pocket or laminated layer so it does not sit against skin, and that pocket needs a bar tack so the magnet does not migrate in laundering. Holding force also has to match the fabric weight. A magnet strong enough for a bonded fleece is excessive on a light jersey, and an over-strong closure becomes its own barrier when the wearer has to pull it apart.
Hook-and-loop is the most adjustable and the least durable. Hook tape grabs knit surfaces, so the facing has to be planned, and peel strength drops across repeated cycles. It is a reasonable choice for a fit-tolerant panel on a seated-use style, and a poor one for a closure the wearer opens ten times a day. Suppliers normally evaluate hook-and-loop with peel and shear testing and zippers with reciprocation and pull-strength testing; ask for current reports, and confirm the test applies to the exact tape or slider in your sample.
Whichever route is chosen, the closure interacts with the shell. A firm, high-modulus knit fights the opening, and a soft, low-recovery knit supports the closure but may not hold shape at the placket. That trade-off belongs to fabric selection for stretch and recovery, and it should be settled before the pattern is graded.

Opening Position: Why Center Front Is Often the Wrong Starting Point
Center front is the default because it is the easiest place to draw. It is not always the easiest place to use. The opening has to serve a sequence: which arm goes in first, whether the wearer is standing or seated, whether the garment passes over the head, and where the hand can reach at the end of the movement.
For a seated wearer, a center-front zip on a cropped top can be closed, but the same zip on a jacket that extends below the hip cannot be started without standing. A side-seam or shoulder opening changes that. For a wearer with reduced shoulder range, a neck-to-hem opening still requires both hands behind the head if the collar is high; a wider neckline with a short front placket often works better than a full-length zip.
One-piece garments are the hardest case. A romper or unitard has to pass the widest point of the body, usually the shoulders or the hips, so the opening must clear that point rather than look balanced on a form. In practice that means a long back opening, a full front opening, or a two-piece construction that reads as one piece. The last option is often the most commercial, because it avoids a long opening across a seam that has to stay flat.
Pattern work follows the decision. Opening length is not the same as zipper length: the placket needs overlap and underlap, the underlap has to be at least the slider width plus seam allowance, and the facing has to be stable enough that the opening does not gape when the wearer moves. Moving an opening from center front to the side seam also moves the grain line of the front panel and changes the armhole curve, which is why this step cannot be handled as a trim change.
Brands that want to keep an existing silhouette usually start from ODM development from reference images: the reference fixes the look, and the development work moves the opening and rebuilds the panel around it.

Ease, Block and Panel Changes That Follow the New Opening
An opening changes the block. Splitting a front panel into two pieces moves the grain, adds a seam, and shifts where the fabric has to stretch during dressing. If the original block relied on stretch to get over the shoulders, that reliance does not disappear because a zipper was added; the block still has to be rebalanced.
Three areas carry most of the dressing load. The armhole and sleeve head determine whether the arm can enter without the wearer pushing through resistance. The neckline determines whether the garment passes over the head. The waist and hip determine whether a pull-on bottom clears the body when seated. Adding ease at those three points solves the dressing problem, but it also changes the silhouette, and the change is visible immediately in a fitted capsule.
On support garments the trade-off is sharper. Extra ease in an underband makes the band easier to pass over the hips but reduces the support it was designed to give. The practical answer is usually a closure plus an adjustable band rather than a looser band: the wearer opens the band, closes it in place, then adjusts. That keeps the support target intact while removing the dressing obstacle. The same logic applies to leggings with a firm high waistband, where a wider band with controlled recovery is easier to manage than a thin band with higher tension.
Seam placement has to be reviewed at the same time. A seam that sits under the arm, along the spine, or across the sitting area becomes a pressure point when the wearer is seated for long periods or uses a chair back. Moving a seam by two centimeters can matter more than changing the fabric. In HUCAI Sportswear's pattern review, the opening, the seam map and the ease allowance are checked as one package before sampling, because revising any of them separately tends to reopen the other two.
Fabric, Trim and Seam Decisions That Decide Whether It Feels Easy
Two fabrics with the same composition can feel completely different to dress in. What matters is how much force the fabric needs to extend, how quickly it recovers, and how it behaves where the opening ends. A high-modulus knit with strong compression resists the wearer even when the measurements look generous. A softer knit with good recovery opens and returns without distortion.
Stretch direction matters too. A four-way stretch jersey gives the pattern room to work in both directions, which counts on a shoulder or side opening. A two-way stretch woven gives a cleaner placket but limits how far the opening can be pulled. Where the fabric cannot provide the movement, the pattern has to provide it through opening length and panel shape, not through added width alone.
The trim stack is where easy-dressing garments are usually lost. Covered elastic and soft binding are gentler than exposed elastic. Flat seams and smooth construction reduce bulk under a chair strap or a bag strap. Labels should be woven-in or printed rather than sewn into a side seam at hip level. Hardware should be placed away from pressure points, and any magnet should sit in a padded pocket rather than directly against the body.
In HUCAI Sportswear's trim review, the closure, the binding and the label are checked as one stack, because a soft closure sitting next to a firm binding still creates a pressure point. Care instructions are part of the design. Hook-and-loop closures should be fastened before washing so the hook tape does not abrade the fabric, and that instruction has to appear on the care label rather than only in the sales copy. Magnetic closures should be checked after repeated washing for migration inside the pocket. Recycled or certified material options can be reviewed based on project requirements and available documentation, and the same review applies to the trims, since a closure is often the least documented component in the bill of materials.
Validation Before Bulk: Dressing Trials and Cycle Testing
A dressing trial is not a fit session. A fit session reviews how the garment looks and measures on a body. A dressing trial reviews whether the wearer can complete the sequence unaided, in the position they normally dress in. The two should be run separately, because a garment that fits well can still fail the trial.
The trial needs testers who match the target wearer rather than colleagues in the office. A seated tester, a tester with reduced grip strength and a tester with limited shoulder range each expose a different failure. Record four things: whether the garment went on without help, how long the sequence took, which step caused difficulty, and whether any seam, label or closure pressed during wear. A short video shows more than a written comment, because it shows where the hand stops.
HUCAI Sportswear's sample room runs the trial against the agreed tester profile, then records the result against the same thresholds used later in inspection, so the decision does not become a matter of opinion in either direction.
Cycle testing covers the parts a single wearing cannot reveal. Closures are opened and closed repeatedly, washed and dried, and checked for holding force, tape degradation and magnet migration. Zippers are checked for slider travel and tape distortion. Hook-and-loop is checked for peel strength after washing and for abrasion on the facing fabric. The output is a simple pass or fail against a threshold agreed before the trial, not a general impression.
Timing follows the specification, not the calendar. Sample development usually takes about 10-15 days once fabric, trims, closure and construction details are confirmed, and a closure change inside the sample round will extend that. Bulk production often takes about 25-30 days after pre-production details and approvals are confirmed. The current public MOQ starts from 200 pcs per style, while final color, size, fabric, trim and customization planning depends on the confirmed project.
Decision Check: Is This Adaptive Direction Ready for Sampling?
Before requesting samples, confirm the following:
- Dressing sequence is written: the step-by-step movement, including whether the wearer is seated, is documented rather than assumed.
- Closure is chosen by force, not by habit: the closure type matches the grip and the position, and the pull or tab size is specified in millimeters.
- Opening length is derived: the opening clears the widest body point, and the underlap is defined, not left to the sample room.
- Ease is allocated: armhole, neckline, waist and hip allowances are listed, and the support target is preserved where relevant.
- Validation is defined: tester profile, trial steps and closure cycle thresholds are agreed before the first sample is cut.
If three or more criteria are confirmed, the direction is ready for a structured sample request. If fewer than three are resolved, additional development planning will reduce sample revision cycles and control cost. A short preparation checklist for the first inquiry is available in what to prepare before requesting a sample.
Mid-article checkpoint: if the dressing sequence, closure and opening are already defined and you hold a tech pack with measurements, send the specification for OEM specification review. If the direction still lives in reference images, start with a development conversation and let the opening and closure be resolved before the pattern is graded.
Founder's Technical Insight: Jean Yuan's Development Note
When brands bring us an easy-dressing request, the sample room usually receives a sketch with a longer zipper and a note that says "make it easier". The failure we see most often is not the closure itself. It is the closure placed on a block that was never rebalanced for it.
Take a center-front zip moved to a side seam. The front panel loses its center line, so the grain direction has to be re-marked, and the armhole curve shifts because the panel is now wider at the front. If the pattern is copied rather than rebuilt, the garment twists slightly when worn, and the wearer feels it as a pull under the arm. In my experience that pull is usually reported as a fabric problem, and the fabric gets changed three times before anyone measures the panel.
The second failure is magnet placement. A magnet dropped into a sewn channel without a bar tack will migrate in the first wash, and the closure strength changes without anyone touching the pattern. We specify a stitched pocket with a fixed position, then check the holding force before and after laundering. The same logic applies to hook-and-loop: the hook side abrades whatever it touches, so the facing has to be planned at pattern stage, not added as a trim after the sample is approved.
A checklist I ask every development team to run before cutting:
- Write the dressing sequence in steps and state the body position for each step.
- Measure the closure opening against the widest body point, not against the garment length.
- Confirm the underlap width against the slider or magnet size, with seam allowance added.
- Mark every seam and trim that will sit against a chair back, a strap or a pressure point.
- Test the closure with a seated tester before grading, not after.
None of these steps requires new equipment. They require the specification to be written before the pattern is cut, which is the part HUCAI Sportswear insists on in development review, because a closure revision after grading costs a full sample round.
FAQ
What makes activewear adaptive rather than simply loose?
Adaptive activewear changes how the garment is put on, not only how much room it has. The opening position, closure type, ease allocation and trim stack are specified around a dressing sequence, while a loose garment only adds circumference. A loose fit can still be difficult to close or to pass over the head.
Can an existing style be adapted instead of developing a new one?
Yes, when the opening can move without rebuilding the whole block. Adding a side or shoulder opening to an existing style is usually a pattern revision, not a new development. Moving a center-front opening onto a panel with a different grain line is closer to a rebuild and should be scoped as such during review.
Which closure works for limited hand strength?
A magnetic placket or a large-pull zipper usually requires less grip than a small slider. The choice depends on the opening position and the fabric weight, and it should be confirmed with a dressing trial using a tester who matches the target wearer. Closure force that is too high becomes a new barrier.
Do adaptive styles need a separate size range?
Not necessarily. Most adaptive capsules use the existing size range and change the openings, closures and ease within each size. A separate range is justified when the target wearer's proportions differ consistently, and that decision should come from fit data rather than from assumption.
What should a tech pack include for an adaptive style?
It should include the dressing sequence, opening position and length, closure type with pull or tab dimensions, ease allowances at armhole, neckline, waist and hip, seam and trim placement, and the validation method. Reference images are useful for the look but do not replace these fields.
What are the MOQ and sampling time for an adaptive development?
The current public MOQ starts from 200 pcs per style. Sample development usually takes about 10-15 days once fabric, trims, closure and construction details are confirmed, and bulk production often takes about 25-30 days after pre-production approvals. Closure changes inside a sample round will affect both estimates.
Can an adaptive piece keep the same look as the main collection?
Yes. Publicly released adaptive lines from large brands keep the same color, length and branding as the main range, and place the differences in closures, openings and ease. Keeping the visual language intact is usually easier than building a separate sub-brand, and it keeps the capsule merchandisable alongside existing styles.
What testing should happen before bulk production?
At minimum: a dressing trial with representative testers, repeated closure cycles, laundering checks for magnet migration and hook-and-loop degradation, and a seam and trim pressure review. Thresholds should be agreed before the trial so the result is a decision rather than an opinion.
Final Takeaway
Accessibility requirements change the architecture of a garment, and the changes are connected. The opening decides where the seam lands, the closure decides how much force the wearer needs, the ease decides whether the silhouette survives, and the trims decide whether the piece is comfortable after ten minutes. Handling them as one specification is faster than revising them one at a time.
For a growing brand, the practical next step is a one-page development brief: dressing sequence, opening position, closure with dimensions, ease allowances and validation method. That brief is enough to scope an OEM review or an ODM development conversation, and it prevents the most expensive outcome, which is a sample that looks right and still cannot be closed by the wearer.
Ready to develop: send your tech pack and closure specification for OEM specification review. Still defining the direction: share reference images, the target wearer profile and the dressing sequence, and the opening and closure can be resolved before pattern grading begins.
About HUCAI Sportswear
- Founded in 1998, specializing in women's activewear and sportswear manufacturing
- OEM and ODM development support for sports bras, leggings, shorts, tops and matching sets
- Structured sample development and sample-to-bulk consistency control
- AQL 2.5-based inspection as part of the quality workflow
Current certification information can be reviewed during supplier evaluation based on the project and documentation requirements.